How To Grow And Care For Texas Bluebonnet Flower
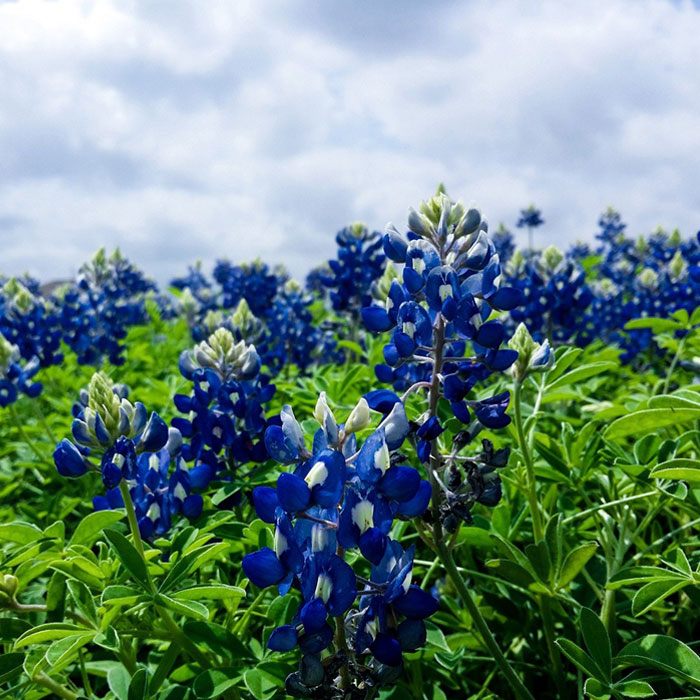
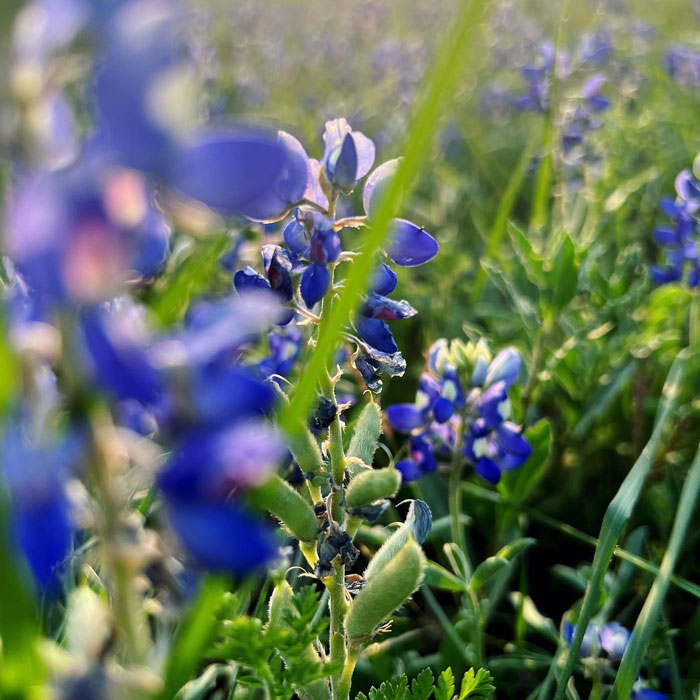
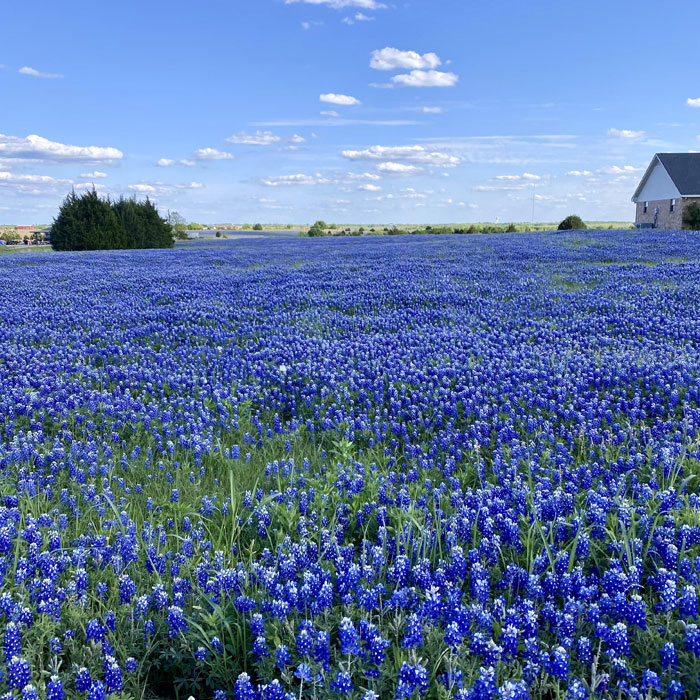
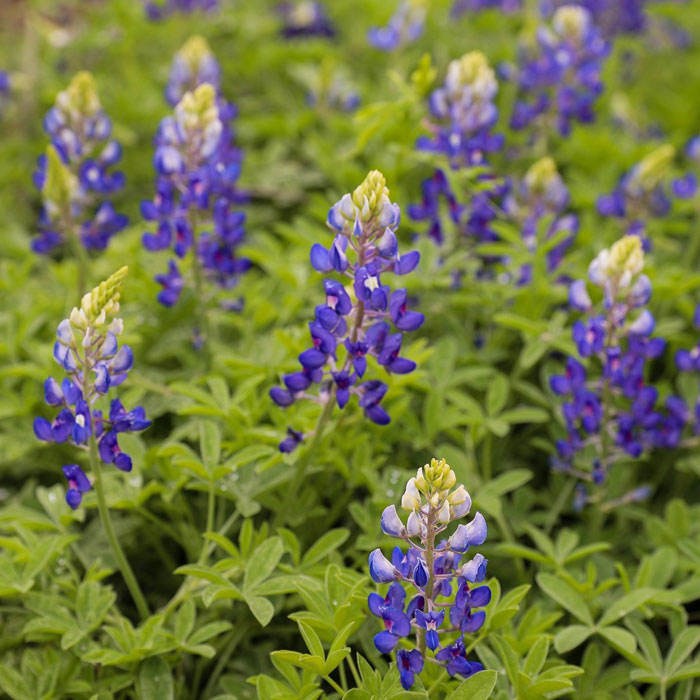
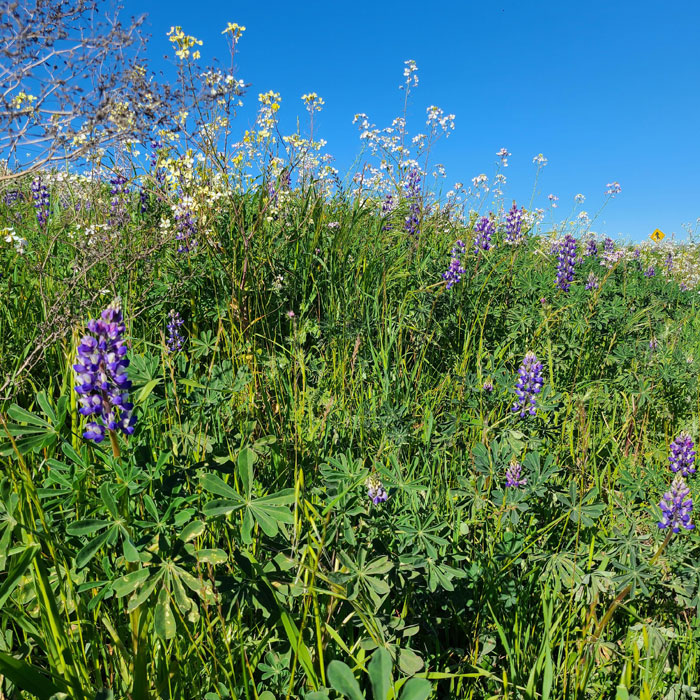
Texas bluebonnet flowers (Lupinus texensis) stand as vibrant brushstrokes of blue in the Lone Star State. They’re a sight for sore eyes in the spring—a splash of blue and white amid the arid Texas terrain.
The Texas state flower thrives in dry, rocky areas and needs alkaline soil. This can make them quite tricky to grow. However, once they are established, bluebonnets reseed and appear every year. So, with a little patience and the right care, you will be able to enjoy these blue flowers every spring.
In this guide, we’ll tell you how to nurture Texas bluebonnet flowers from seed to full bloom.
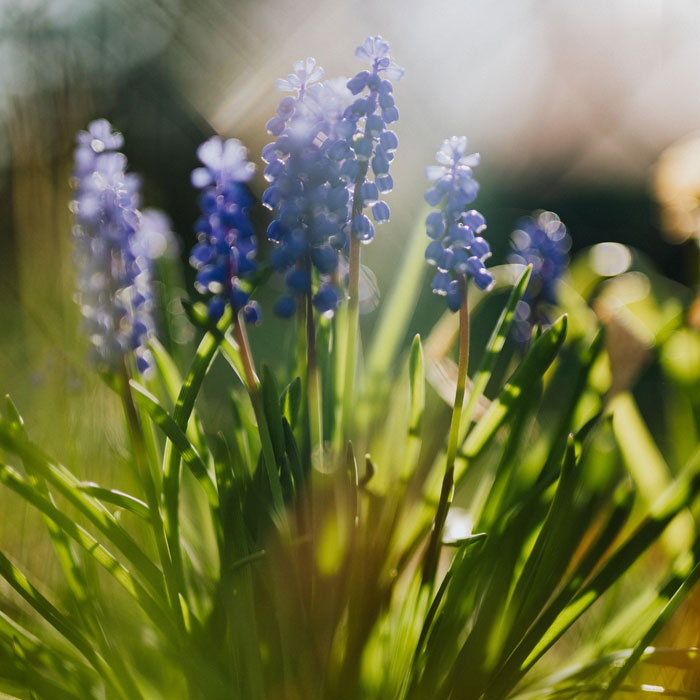
Image credit: Karolina Grabowska
Texas Bluebonnets Quick Facts
Scientific Name: Lupinus texensis
Plant Type: Annual
Mature Size: Can grow up to 1–2 feet in height
Flowering Time: Spring
USDA Hardiness Zones: 4–8
Sun Exposure: Needs full sun
Soil Requirement: Bluebonnet flowers thrive in Texas’ sandy and loamy soil
Growing Bluebonnets from Seeds
Growing bluebonnets from seeds is surprisingly simple. Let’s dig into where, how, and when to plant bluebonnet seeds.
When to Plant Bluebonnet Seeds
These wildflowers bloom in March and April, so the best time to start the germination is in the fall months of September and November. Fall planting allows the seeds to undergo a period of cold stratification, a natural process that enhances germination rates when the weather warms in spring. Bluebonnet seeds benefit from exposure to winter chill.
Pro tip: If you missed planting them in the fall, refrigerate the bluebonnet seeds for a few days to help them undergo stratification.
Image credit: pxhere.com
Where to Plant Bluebonnets
Although this plant is a Texas native, it can be grown in USDA Hardiness Zones 4 to 5. They need full sun exposure, which means you cannot grow them as indoor plants. Plant bluebonnets directly in the ground at a location that receives full sun most of the day.
Bluebonnet flowers need alkaline soil with a pH of 7.5. Sandy or loamy soil is their ideal match. If your soil is acidic, add some lime to balance it out. Mix in organic matter like compost to enhance fertility. Rake it to create a smooth, even surface for your seeds.
How to Plant Bluebonnets
For successful germination, scatter the seeds instead of burying them. Bluebonnet seeds don’t need to be buried deep in the ground. They prefer a more superficial placement. Scatter the seeds evenly over the prepared soil, and then gently press them down with a rake or your hands. This ensures good seed-to-soil contact, promoting successful germination. Don’t put more than ten seeds per square foot. These flowers need room to grow.
Growing bluebonnets is a lesson in patience. After sowing, it may take several weeks before you see any sprouts. During this waiting period, resist the urge to overwater or disturb the soil. Nature works at its own pace, which means you might have to wait several weeks to see green shoots emerging from the earth.
Image credit: simone_dealba
Bluebonnet Care Tips
Bluebonnet plants are hardy, so you don’t have to be an expert gardener to care for them. Follow these essential tips to care for your patch of bluebonnets, and you will be rewarded with lush growth.
Light
The more sunlight, the better the blooms! Plant them facing west so they can benefit from the afternoon sun when it gets really hot.
Water
When it comes to watering, bluebonnets need very little moisture. Water them only once in 3 to 4 days during the time of seed germination. Once the saplings appear, you should water them sparingly. These plants thrive in the wild with very little water. So leave them alone in the spring. Water only if you see the topsoil drying out. Overwatering bluebonnet plants may result in fewer flowers.
Temperature
Bluebonnets, like many Texans, prefer the weather not too hot, not too cold! They thrive in temperatures between 55–70 °F (13–21 °C).
Humidity
Bluebonnet plants can tolerate a range of humid conditions, making them a versatile addition to gardens in various climates. Just ensure good air circulation to prevent any fungal issues.
Fertilization
There is no need to fertilize bluebonnets as they can fix nitrogen from the soil.
Image credit: mudflaptheredneck
Potting and Repotting
If you are growing bluebonnet flowers in a flower pot, make sure to choose a 3–5 gallon container with drainage holes. Fill it with loam soil and add compost to make it more fertile. Plant the seeds no more than half an inch deep and 10 inches apart. Container bluebonnets need to be watered regularly as opposed to the ones grown in the ground.
Repotting bluebonnets isn’t necessary as they are annuals.
How to Prune Bluebonnets
Bluebonnets don’t require pruning apart from occasional deadheading at the start of spring to encourage more blooms. After that, you should leave them alone. Allow the bluebonnet flowers go to seed and drop naturally. This contributes to the self-sustaining cycle of these wildflowers. Nature knows best, and bluebonnets are experts at reseeding themselves.
When the blooming season is over, collect the seeds and cut them down to the ground, or leave them just about 3–4 inches above the ground. Add mulch around the base to protect them from frost. This method helps with overwintering. You may notice the lower leaves on the plant turning crimson in the winter. It’s a part of the plant’s natural cycle and doesn’t need any pruning. Bluebonnets won’t show any growth in the winter; however, they will still develop strong roots.
Image credit: Farah_100020
Propagating Texas Bluebonnets from Seeds
To propagate bluebonnet flowers, you’ll need seeds. You can either collect ‘from seedpods of your existing bluebonnet plants or purchase bluebonnet seeds online.
Bluebonnet seeds have hard shells, which makes germination a very slow process. A process called “scarification” helps speed up their germination. Even though the name sounds intimidating, it is quite a simple process that involves creating small nicks or scratches on the seed coat. This helps with water penetration and kickstarts the germination process.
In the wild, bluebonnet seeds undergo natural scarification through weathering, microbial action, or passing through the digestive systems of animals. You can mimic these conditions at home by using a nail file or sandpaper.
Here’s how you can scarify bluebonnet seeds:
1. Not all bluebonnet seeds will need scarification. Some seeds naturally have a softer seed coat, allowing water to penetrate easily. Choose only hard-coated seeds for scarification.
2. For a DIY scarification, you can use sandpaper or a nail file. Aim for a medium grit, not too rough or too smooth. The goal is to create small scratches on the seed coat without damaging the seed inside.
3. Gently rub each bluebonnet seed against the sandpaper or nail file. Don’t sand the seed down completely; instead, create small abrasions on the seed coat. A few seconds of rubbing each seed should be sufficient.
4. Once you’ve scarified all your seeds, place them in a small bowl. Cover the seeds with water and let them soak for 12 to 24 hours. This soaking period mimics the natural processes that occur when seeds are exposed to rain or moist soil.
Once the bluebonnet seeds are scarified, they’ll be ready for planting. The next step, as we mentioned above, is cold stratification. Plant the seeds in mid-September so they can benefit from the cold conditions.
Water them only once at the time of planting; after that, leave them alone! Like all good things, growing bluebonnets from seeds requires a bit of patience. Don’t expect them to start sprouting immediately. The very first green shoots will appear only after 8–10 weeks. During this waiting period, resist the urge to disturb the soil or drown it in water. Mother Nature has her own schedule, and good things come to those who wait!
Image credit: maas.nursery
Troubleshooting Common Issues With Bluebonnets
Bluebonnets are pest-resistant plants. However, bluebonnet seeds are vulnerable to pillbugs and sowbugs. They are known to crack open the seeds and feed on them. They also like feeding on the young saplings, which can damage the plant. To get rid of these insects, you will need to remove moisture sources, such as too much mulch, which can trap moisture.
The most common issues with bluebonnets are caused by soil and water woes. Overwatering or poorly draining soil can lead to root rot. Ensure your bluebonnets are planted in well-draining soil and water sparingly.
If you notice bluebonnet leaves turning yellow, it could be a sign of nutrient deficiency, especially nitrogen. Consider applying a balanced, slow-release fertilizer in the spring to provide the necessary nutrients. However, be cautious not to over-fertilize, as bluebonnets prefer lean conditions.
Image credit: sabotgarden
Types of Bluebonnets
These are the four most common varieties that are recognized as the Texas state flower:
Texas Bluebonnet (Lupinus texensis)
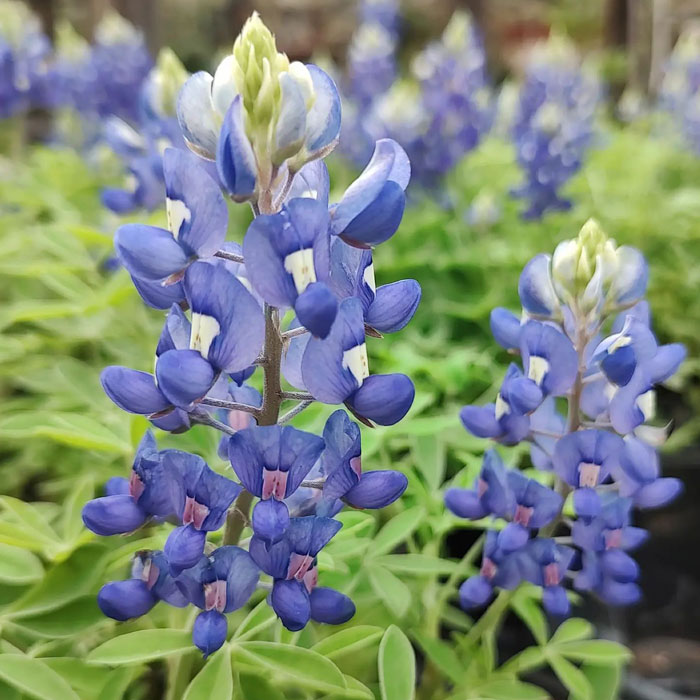
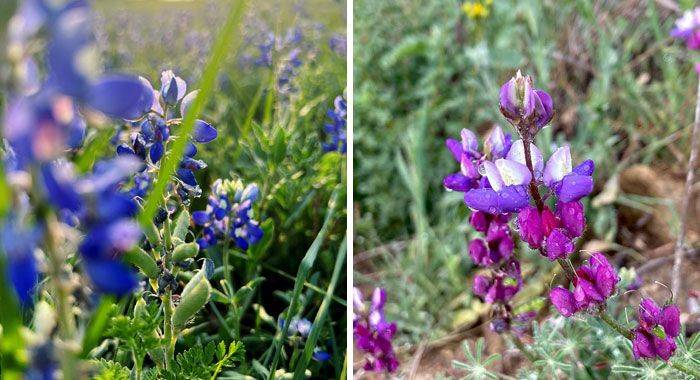
The Texas bluebonnets have blue, upright flower spikes with a white tip on each petal. They are the most easily recognizable flower in Texas in springtime. Some locals even host a bluebonnet competition to celebrate this wildflower.
Image credit: jns-1920
Big Bend Bluebonnet (Lupinus havardii)
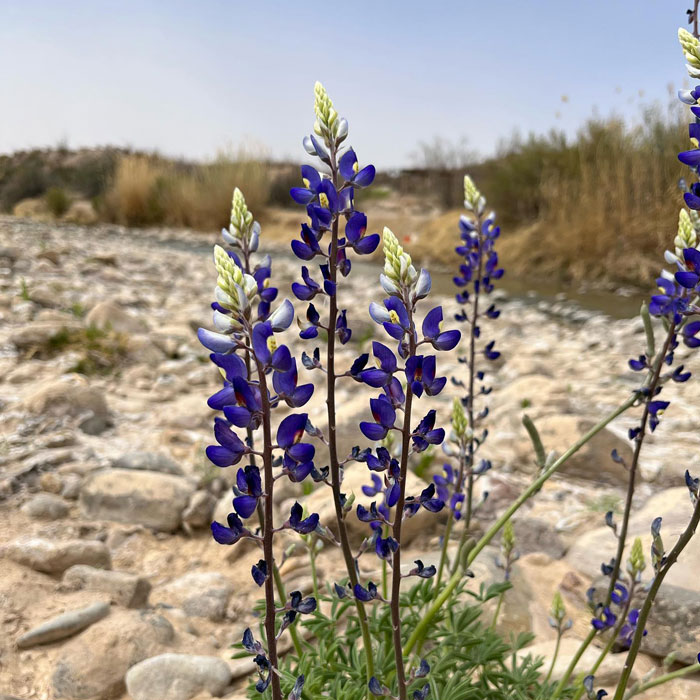
This variety produces larger, bolder blooms compared to the Texas bluebonnets. The flowers are deep blue and may have a white or light pink tip. It grows in the Big Bend region of Texas and can be difficult to cultivate outside its natural region.
Image credit: texasriversandstreams
Bajada Lupine (Lupinus concinnus)
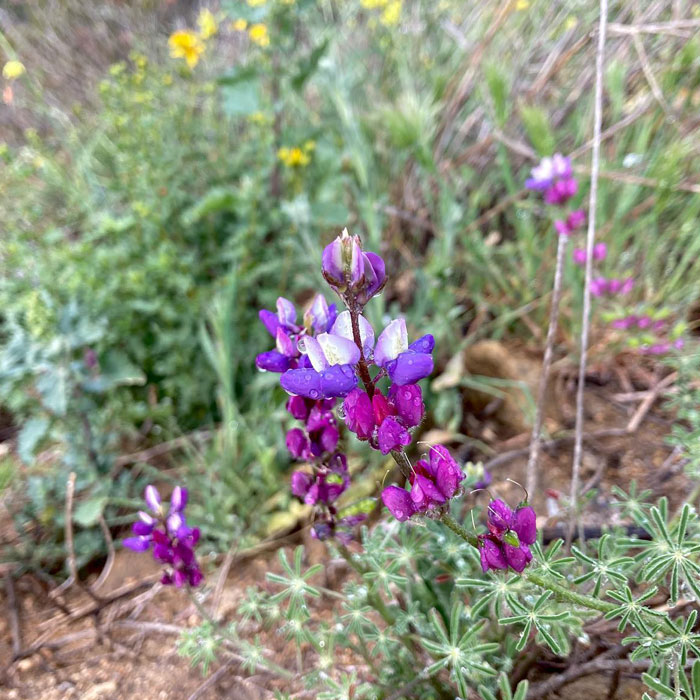
This is a compact variety that produces smaller flowers as compared to Texas bluebonnets.
Image credit: curtis_sd
Nebraska Lupine (Lupinus plattensis)
This is a perennial variety that is found in the sandy dunes of Texas. It produces bluish-purple flowers and grows in central and western parts of the United States, including Nebraska and Kansas.
Image credit: mattpiv
Companion Plants
Pair bluebonnets with these drought-tolerant plants:
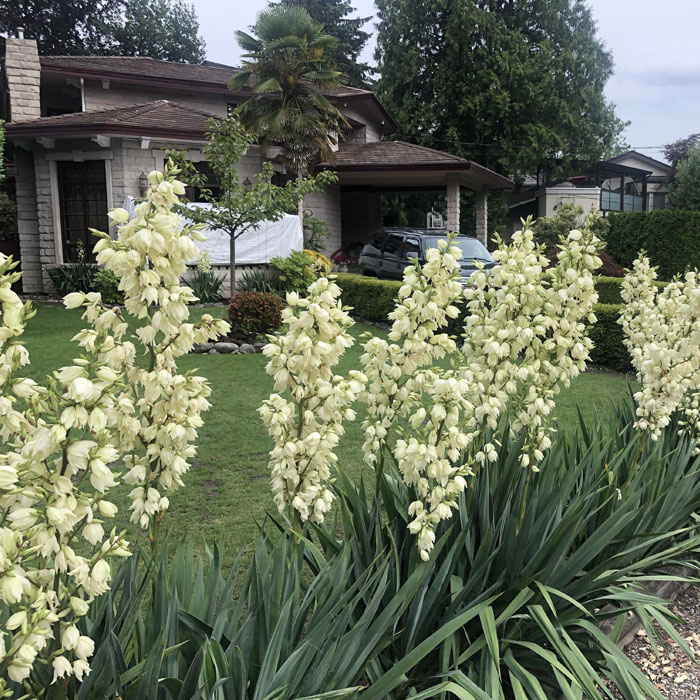
Yucca (Yucca spp.)
Image credit: halfplusgreen
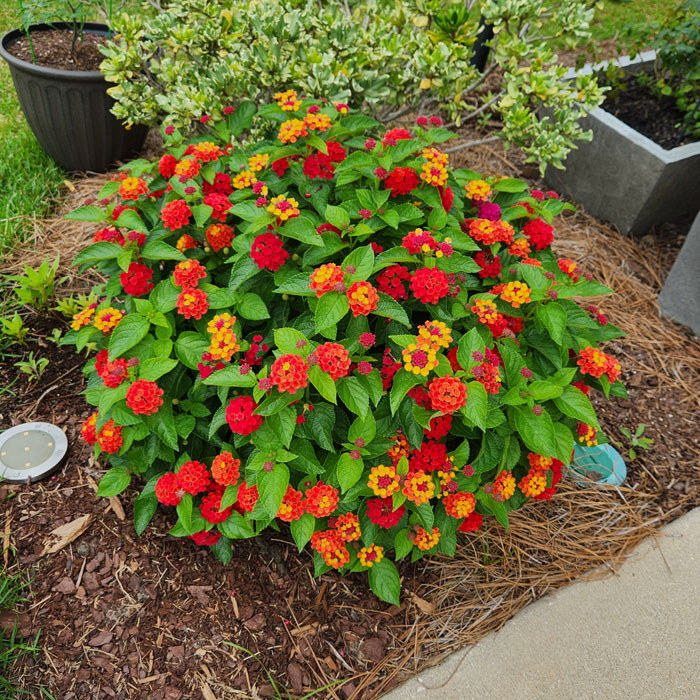
Lantana (Lantana camera)
Image credit: manleybones
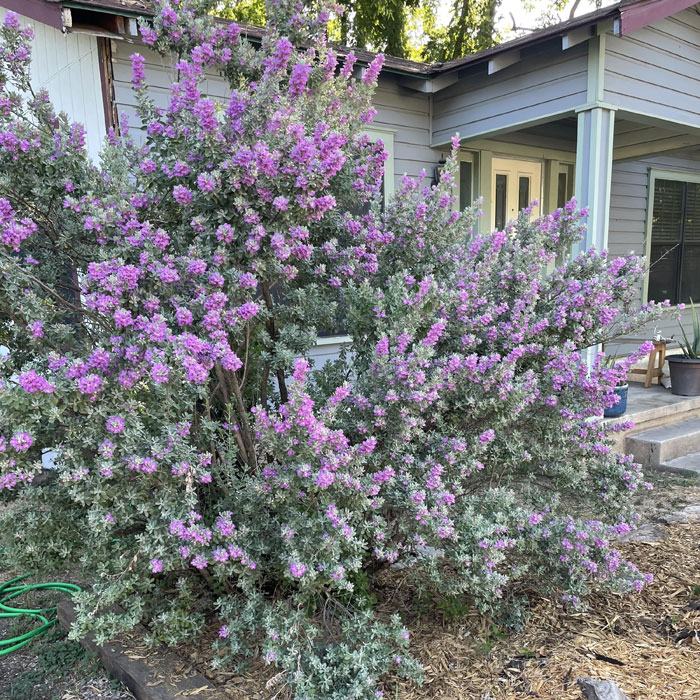
Texas Sage (Leucophyllum frutescens)
Image credit: wasistlosbuddie
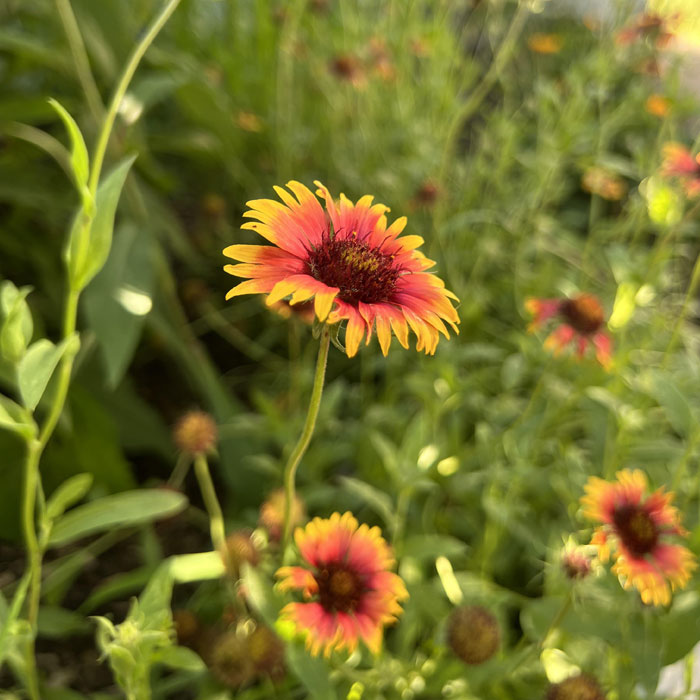
Indian Blanket (Gaillardia pulchella)
Image credit: GuineaFowlItch
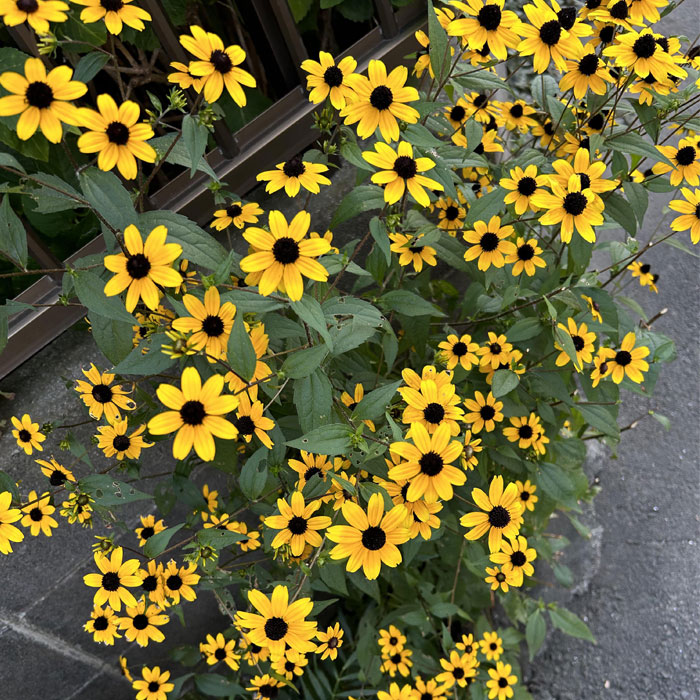
Black-eyed Susan (Rudbeckia hirta)
Image credit: willyjra01
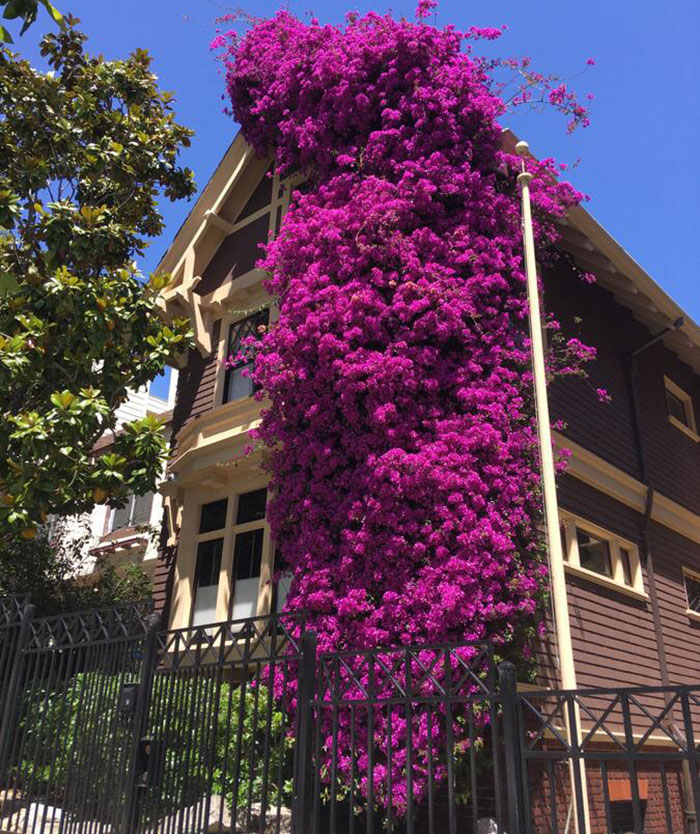
Bougainvillea (Bougainvillea spp.)
Image credit: _heburntmyshake_
Add a Visual Splendor to Your Garden with Bluebonnets
Bluebonnet is the perfect plant for beginners (provided you have the patience to wait for the seeds to germinate). They need very little care, and once they start blooming, they’ll reward you with a stunning display of blue.
Try our guide to growing more gorgeous flowers such as dianthus, birds of paradise, and aster.
Image credit: rocco_ava
Recommended Videos
 Winners Of The BigPicture Natural World Photography Competition605 views
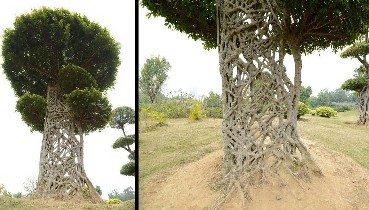 "Spiders Web" tree (also known as Strangler Fig), Nanning, Guangxi, China14639 views
-
Advertisements
 38 of the Strangest Plant Species125 views
 The tufted puffin (Fratercula cirrhata), also known as crested puffin, is a relatively abundant medium-sized pelagic seabird in the auk family (Alcidae) found throughout the North Pacific Ocean.410 views
 Mostly Described As The Pinnacle Of Avian Beauty Is A Dove Covered In A Mesmerizing Attire Of Burnished Gold And A Striking Yellow Sheen35 views
 30 Hilarious Travel Photos That Didn’t Turn Out To Be As Expected707 views
 A Bird You Can’t Take Your Eyes Off Potoo Caught On Camera For The First Time60 views
 Hydnora africana372 views
